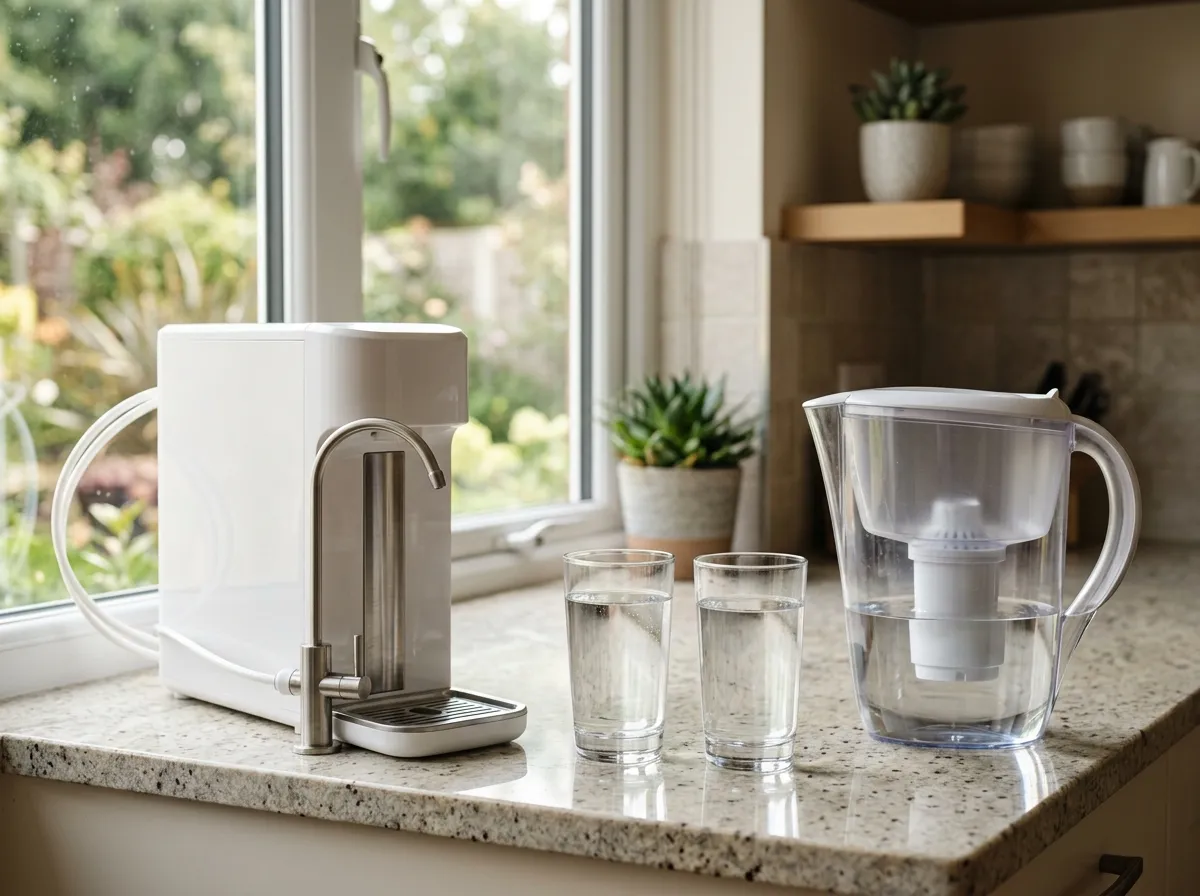

Here’s the uncomfortable truth about water filtration. Your filter might be working perfectly. Or it might be doing absolutely nothing. And if you’re only judging by taste, you have no real way to tell the difference.
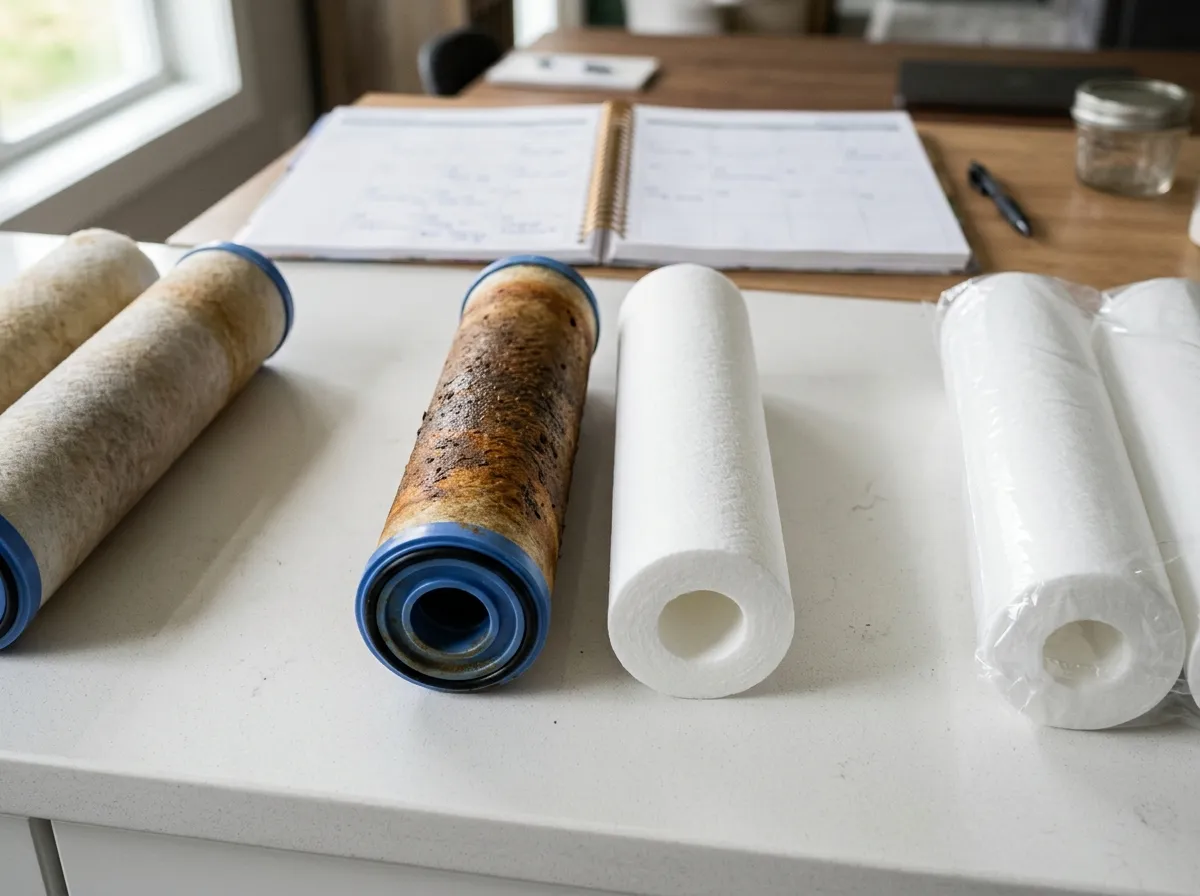
Carbon filters lose roughly half their adsorption capacity before taste changes become obvious. RO membranes can foul gradually and keep letting water through at normal flow. Water softener resin can get so crusted with scale that it stops softening years before anyone notices spots on glassware. The filter looks fine. The water tastes fine. And the filter is basically a paperweight.
This is different from knowing when to replace each filter type. Replacement schedules tell you the outside limit. Maintenance is what you do between replacements to make sure the filter actually earns its keep. Most homeowners skip all of it.
The Silent Failure Problem
A new activated carbon block rejects chlorine, VOCs, and a long list of organic compounds through adsorption. The carbon has a finite number of binding sites. Once those sites fill up, contaminants start passing through. Water keeps flowing. Taste stays neutral for a while because the chlorine signature is one of the last things to break through. By the time you smell chlorine again, the filter has been compromised for weeks.
RO membranes are worse. A degraded membrane can push TDS (total dissolved solids) from 10 ppm to 150 ppm without any change in flow rate or taste. You’d never know unless you tested.
UV systems are the most deceptive. The bulb still lights up. The housing still hums. And the 254nm germicidal output has dropped below the threshold needed to inactivate bacteria. Visible light is not the same as UV-C.
So if taste isn’t reliable, what is? Two things: flow rate and direct testing. That’s the whole game.
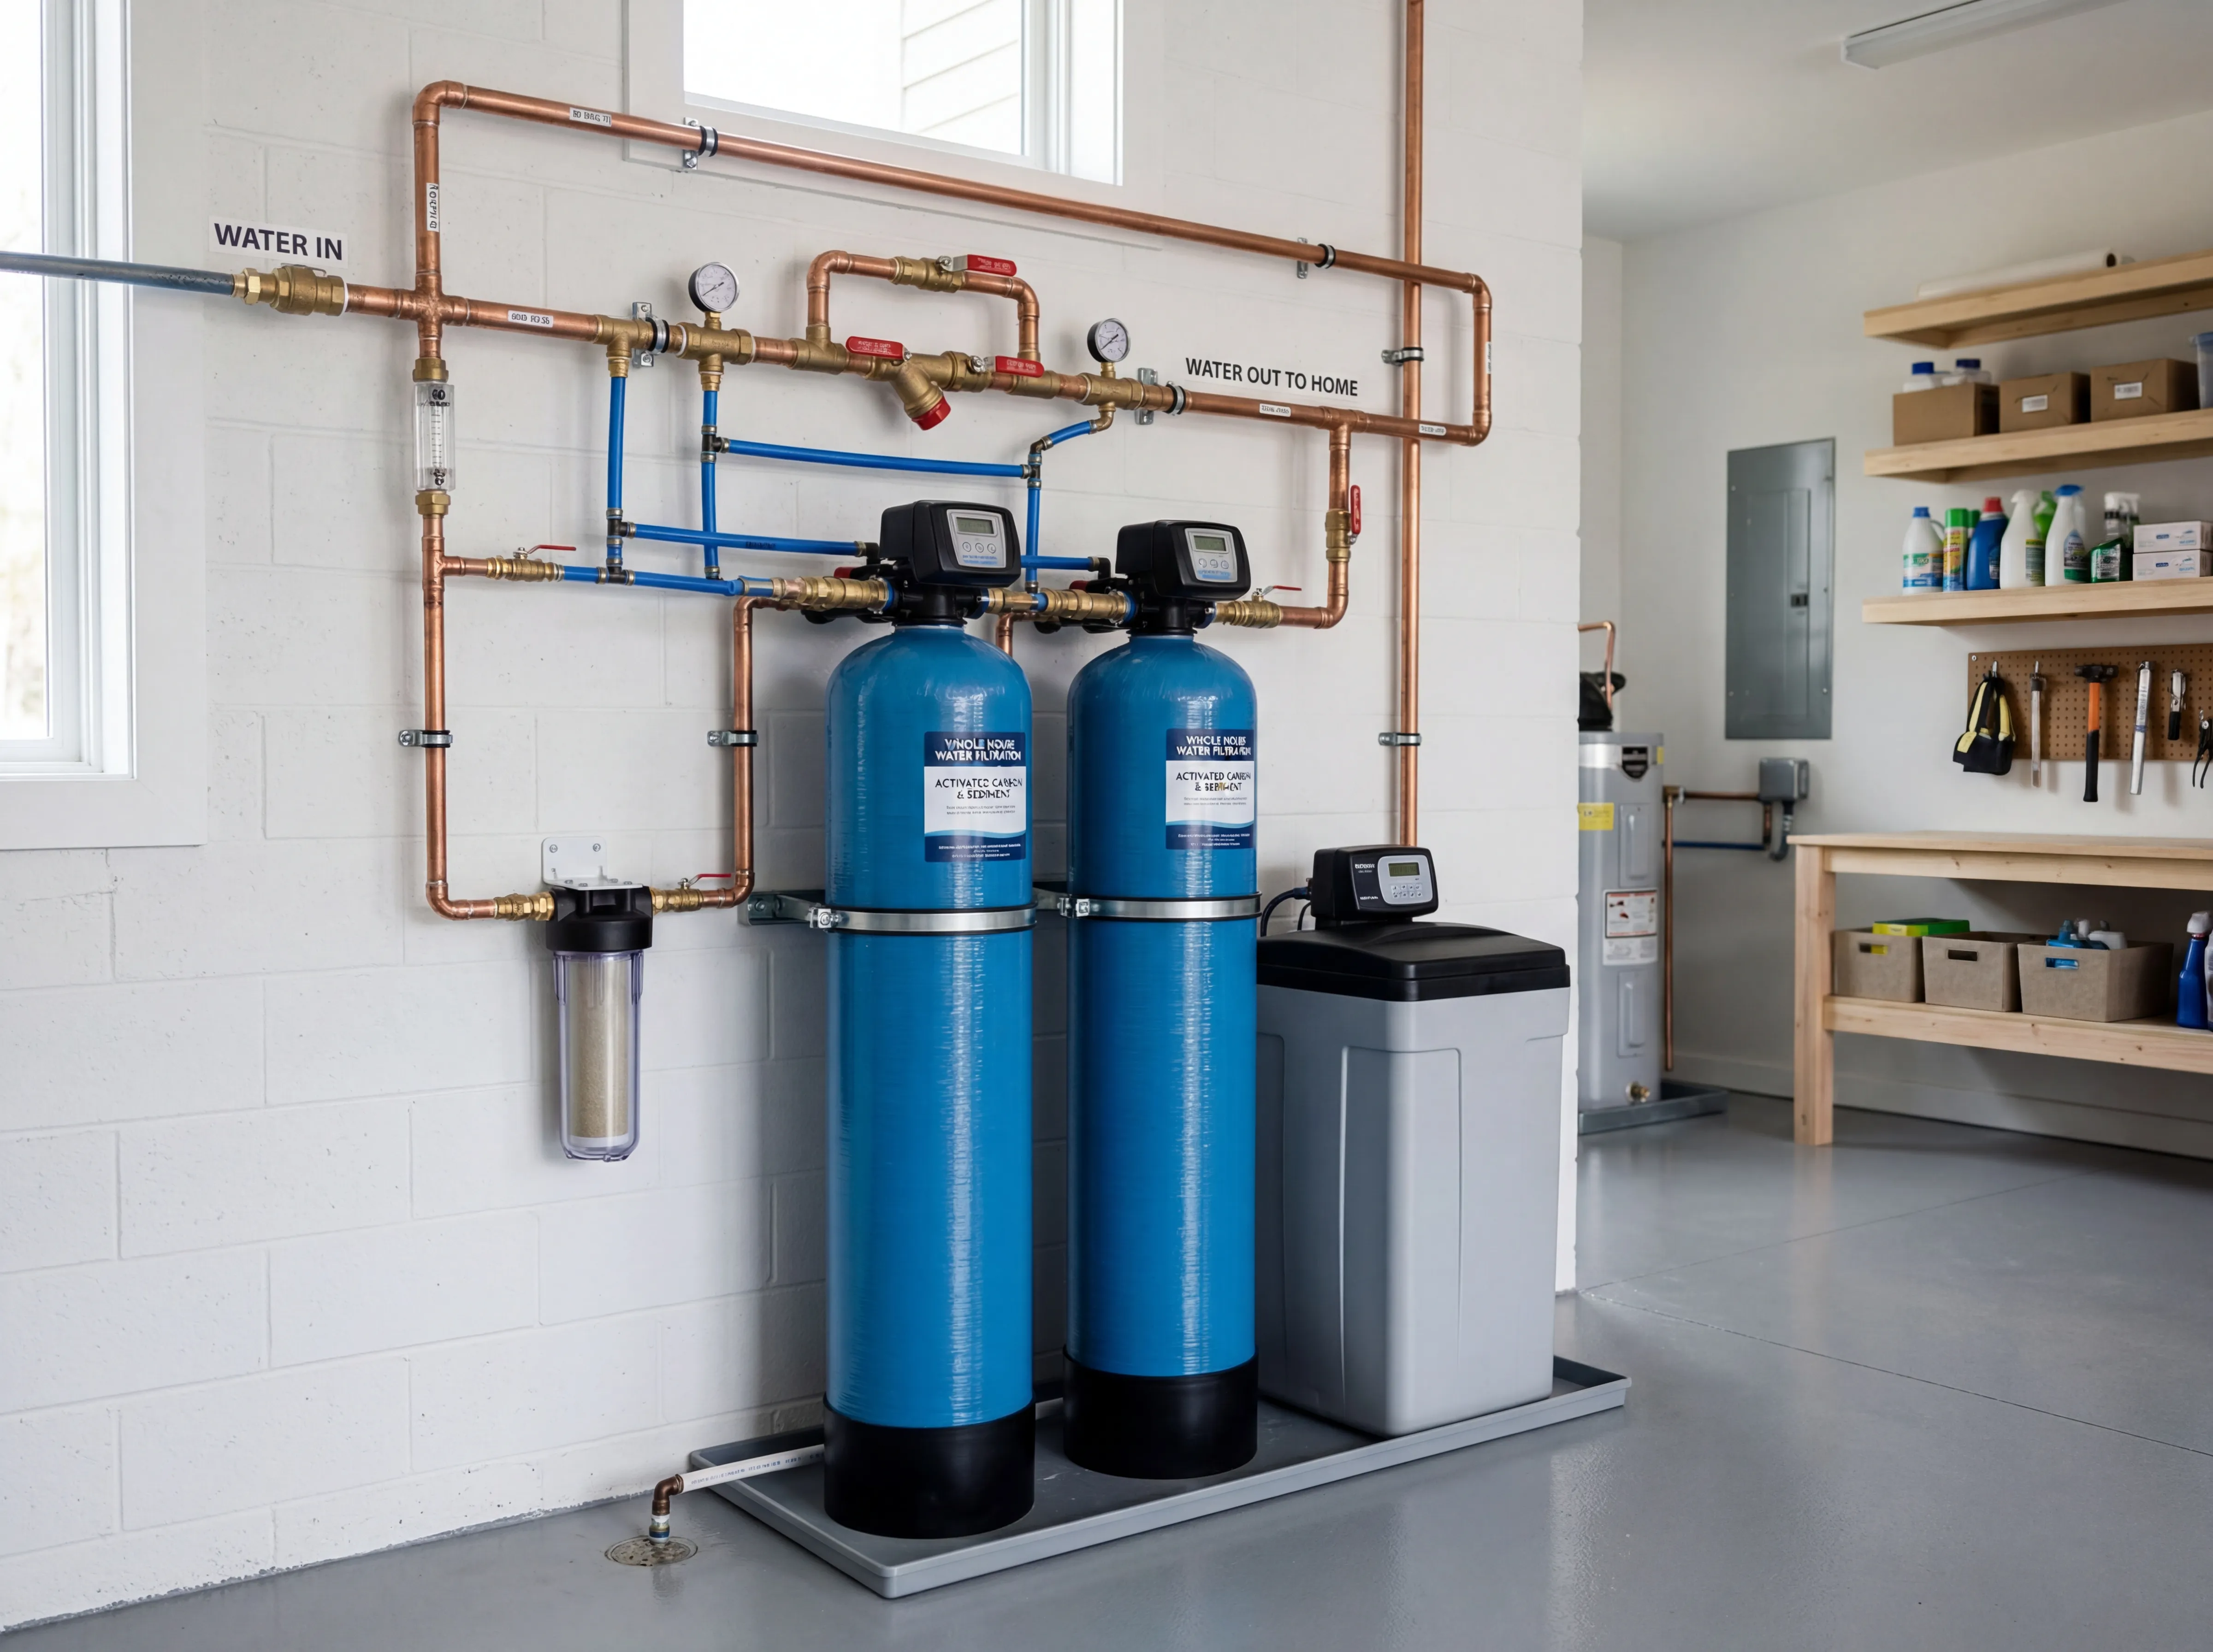
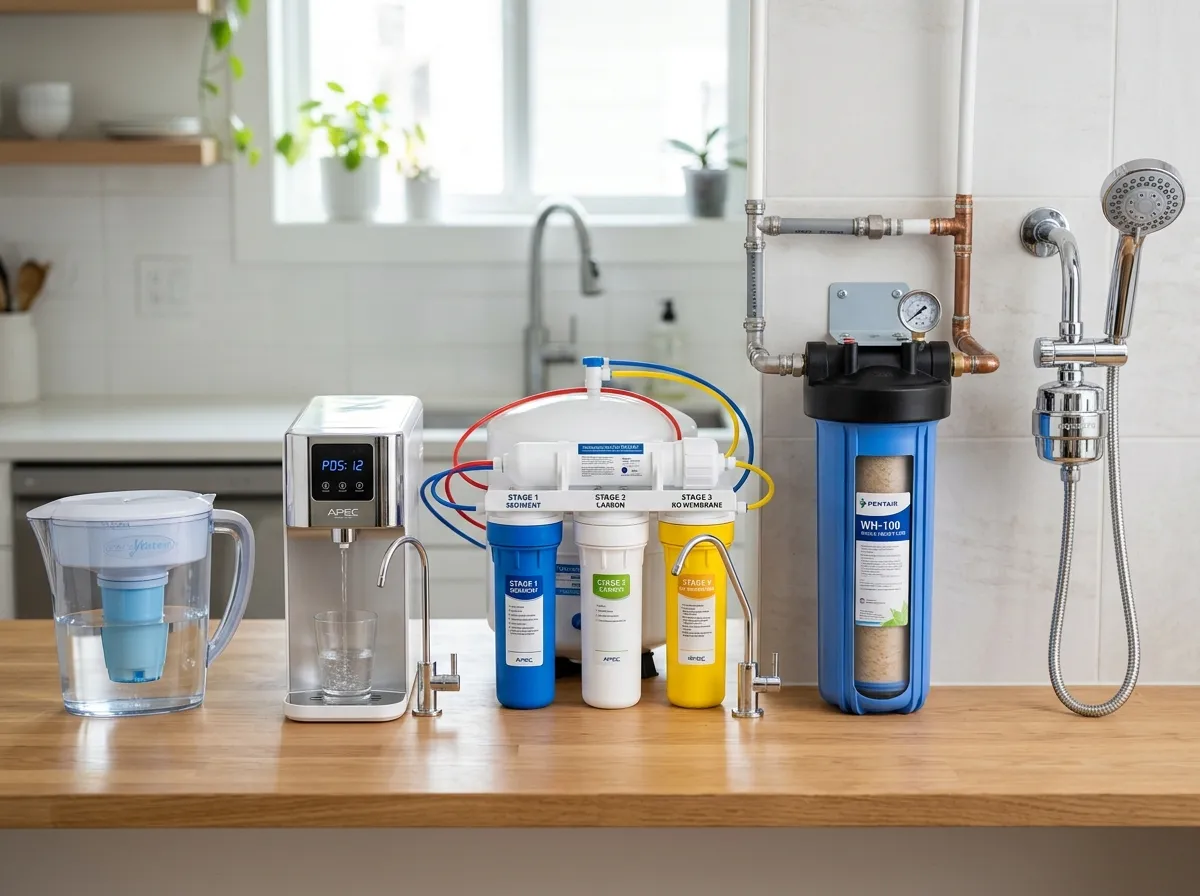
Maintenance by Filter Type
| Filter type | What to do | How often |
|---|---|---|
| Pitcher or fridge carbon | Rinse housing with warm water, no soap. Never exceed rated gallons. | Monthly rinse, replace per schedule |
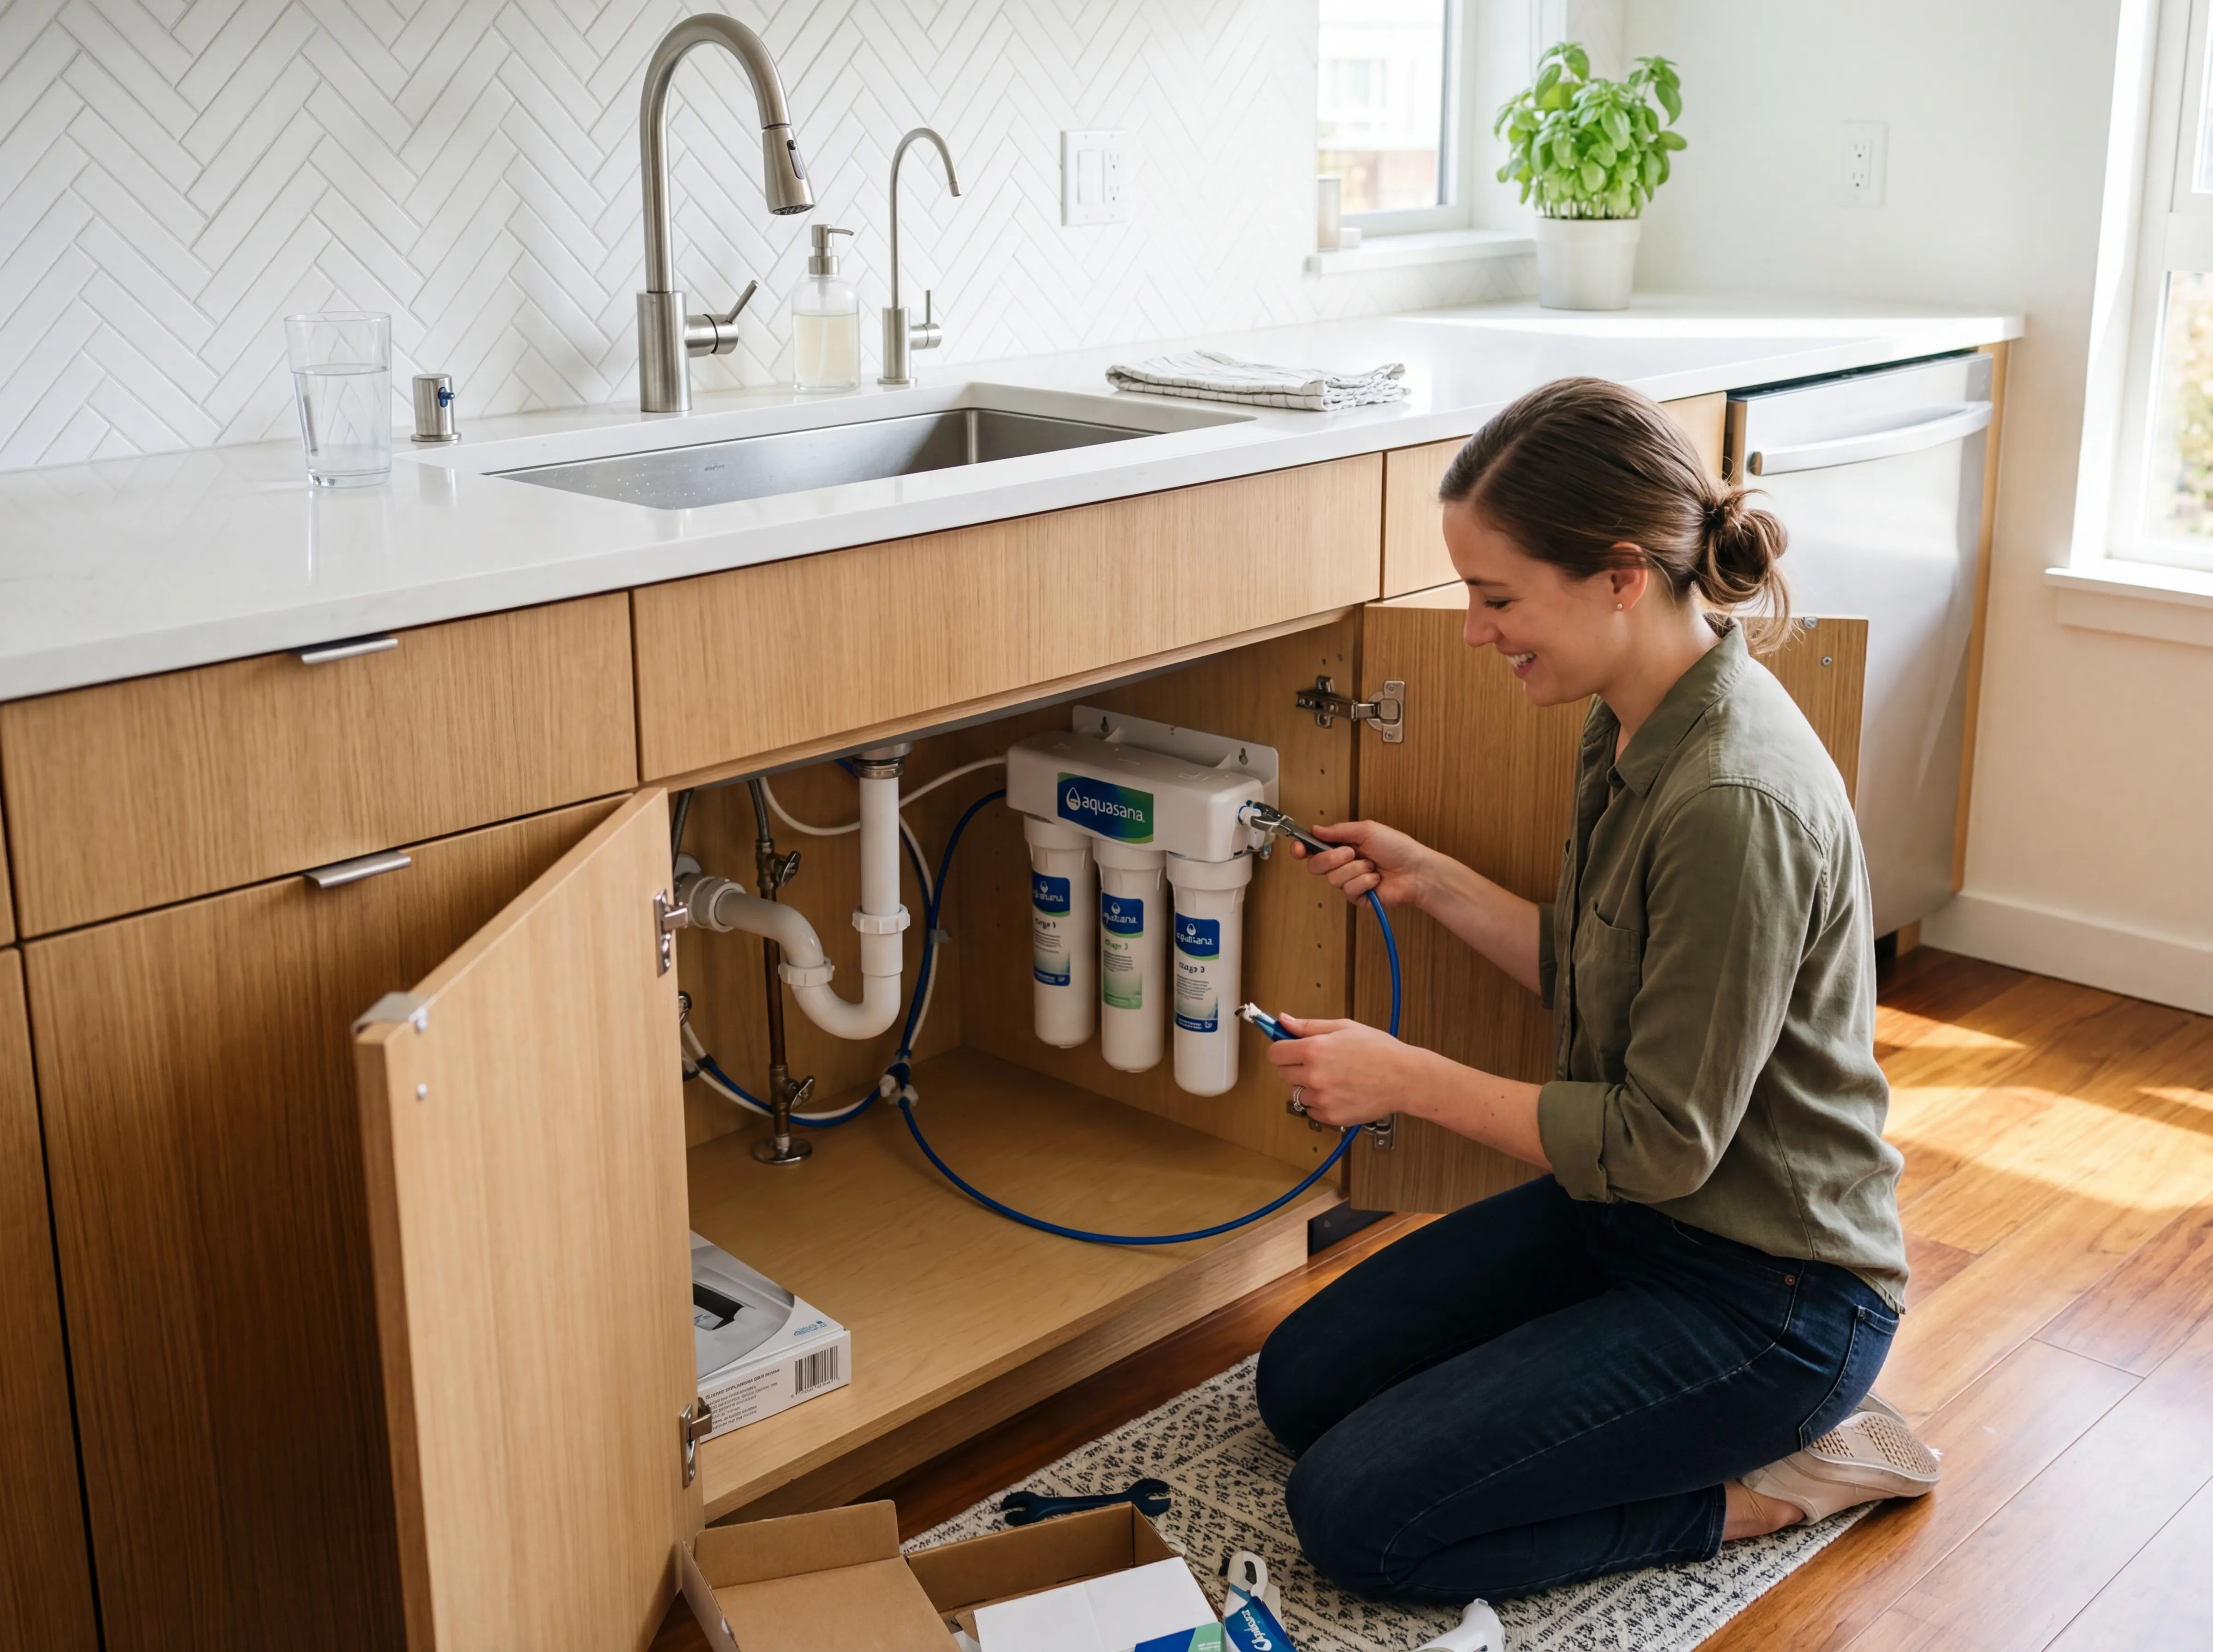
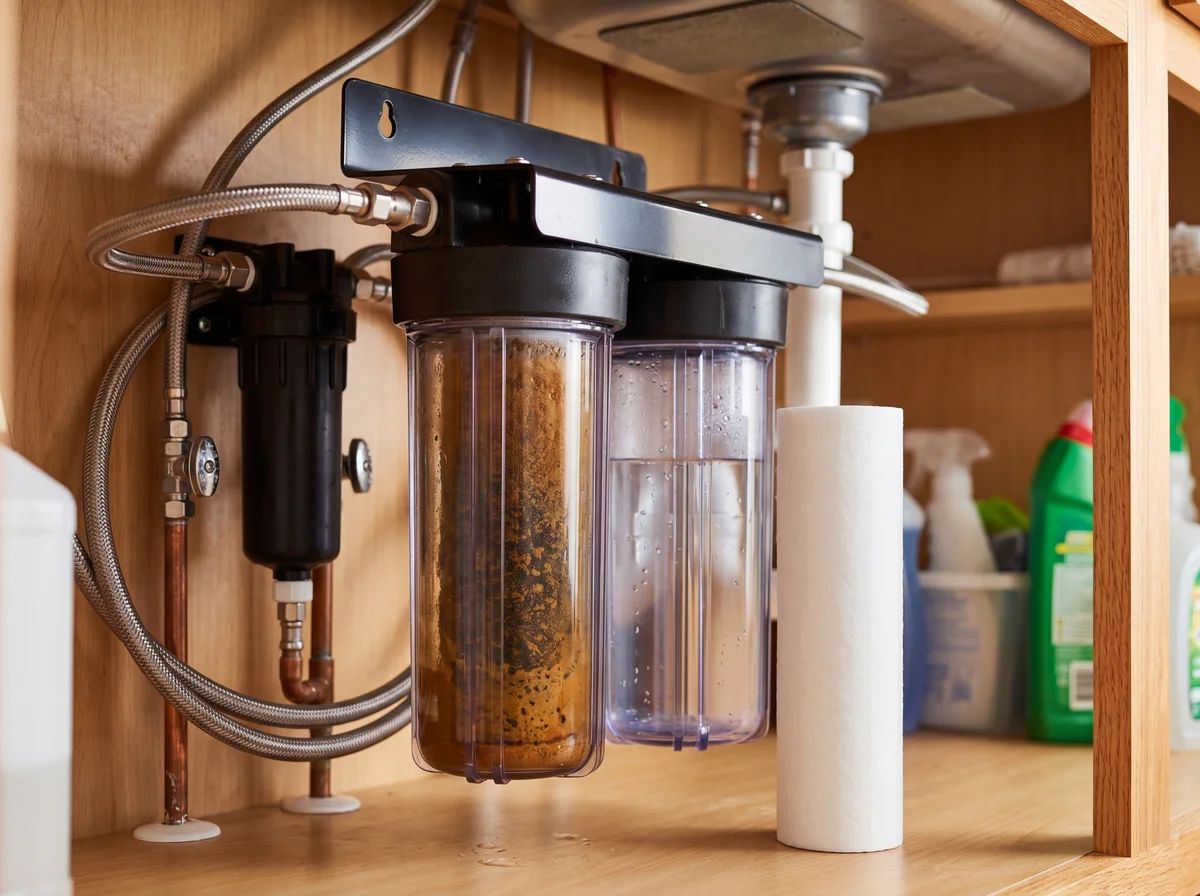
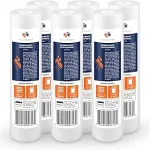
| Under-sink carbon block | Wipe housing with diluted vinegar or a 1-tsp-per-gallon bleach solution at cartridge change. Inspect O-ring for cracks. | At every cartridge swap |
| Whole-house sediment (reusable spin-down) | Backwash via flush valve until runs clear. | Monthly |
| Whole-house sediment (disposable cartridge) | Check pressure differential across housing. Replace when delta hits 5-7 PSI. | Check monthly |
| Water softener | Break salt bridges, top off salt, trigger manual regen, annual Iron Out brine well flush. | Weekly salt check, monthly bridge check, annual deep clean |
| Reverse osmosis | Flush membrane per manufacturer spec. Test output TDS. | Quarterly flush, monthly TDS test |
| UV system | Clean quartz sleeve. Replace bulb annually even if lit. | Quarterly sleeve clean, annual bulb swap |
That table is the whole maintenance program for a typical home. Nothing on it takes longer than 20 minutes. And almost none of it gets done.
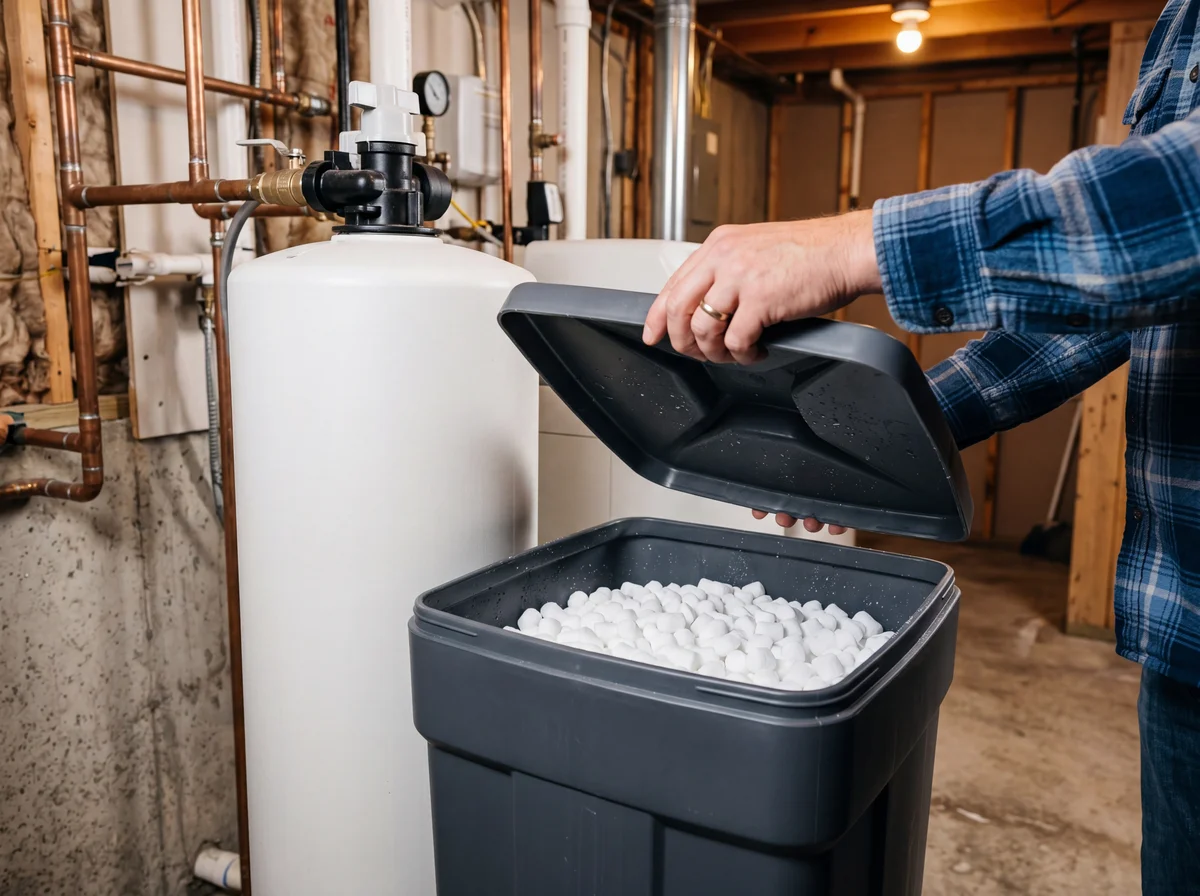
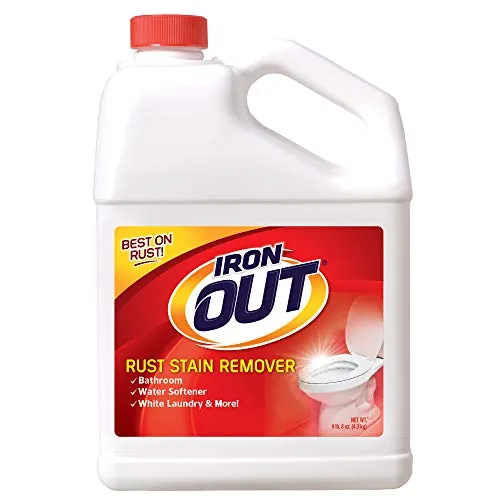
The Iron Out Trick (The One Nobody Does)
If you have a water softener and you do only one thing from this article, do this.
Pour one cup of Iron Out powder into the brine well. Trigger a manual regeneration cycle. Let it run through. Do it once a year.
That’s it. The Iron Out (sodium hydrosulfite, effectively a reducing agent) dissolves the iron and mineral crust that builds up on resin beads over time. Softeners don’t remove iron efficiently on their own, and even small amounts of iron in your supply will coat the resin and block the ion-exchange sites. A softener with crusted resin still cycles. It still uses salt. It just doesn’t soften as well as it used to.
I did this to a 7-year-old Fleck softener that had gotten sluggish. Hardness test before: 6 grains per gallon at the tap. After: back to 1 gpg. Total cost, maybe $4 worth of Iron Out.
This is printed in most softener manuals. Check yours. You’ll probably find a paragraph about “annual resin bed cleaning” buried somewhere. The Iron Out trick is the single highest-ROI maintenance step most homeowners never take. For a full softener maintenance schedule, see Water Softener Maintenance: The 4 Steps Most Homeowners Skip.
Salt Bridges Are Sneakier Than They Sound
A salt bridge is a hardened crust of salt that forms across the top of your brine tank, with a hollow cavity underneath. From the lid, the tank looks full. Salt level looks normal. But the water underneath isn’t touching the salt anymore, so the softener is regenerating with plain water and doing nothing.
How to check: push a broom handle straight down into the salt. If it meets resistance and then suddenly punches through into open space, you have a bridge. Break up the crust with the broom handle or a plastic shovel. Don’t use anything metal inside a brine tank.
How to prevent it: keep humidity down in the room where the softener lives, don’t overfill the tank above the water line, and use solar salt pellets instead of rock salt. Check for bridges monthly.
Signs you already have one: hard water returning (spots on dishes, soap scum, dry skin) while the salt level looks unchanged for weeks.
Flow Rate Is the Real Early Warning
Here’s the thing nobody tells you. Taste is the slowest, most unreliable signal in the whole system. Flow rate is the first to shift.
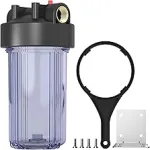
Get two cheap water pressure gauges with hose threads. Install one on a spigot before your whole-house filter and one after. Log the delta (the difference between the two readings) once a month. A healthy filter shows 2-4 PSI of delta. When you hit 5-7 PSI, the filter is clogged with sediment and you’re about to start losing pressure at every fixture in the house.
This is how plumbers diagnose filter housings. Not by tasting the water. Not by timing the calendar. By looking at the pressure drop.
For under-sink filters, you won’t have gauges, but you can time how long it takes to fill a gallon pitcher. A new filter might do it in 90 seconds. When that stretches to 3 minutes, the filter is done regardless of what the calendar says.
Warning Signs, Decoded
| What you notice | What it actually means |
|---|---|
| Pressure drop throughout the house | Whole-house sediment filter is clogged |
| Chlorine smell returning | Carbon filter exhausted, no longer adsorbing |
| Spots on dishes, soap not lathering | Water softener has failed or is salt-bridged |
| TDS meter reading rising on RO output | Membrane degrading, needs replacement |
| Slime on aerators or showerheads | Bacterial breakthrough, UV bulb may have failed |
| Rusty or red-tinted water | Iron bleed from softener resin, time for Iron Out |
| Cloudy water after filter | Sediment filter failed, bypassed, or missing |
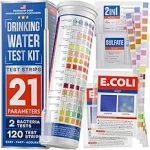
The useful move is pairing these signals with a basic test kit. If you smell chlorine again, a $10 pool chlorine test strip tells you in 30 seconds whether your carbon is shot. If soap isn’t lathering, a hardness test strip tells you whether it’s the softener or your soap. Don’t guess when a strip costs a quarter.
UV Systems Need the Most Babysitting
People install UV for well water or for post-filter polish and then forget about them. Two mistakes to avoid.
First, the quartz sleeve. UV light has to pass through a clear quartz tube surrounding the bulb. Over time, that tube gets coated with mineral film from your water. A coated sleeve blocks UV output even when the bulb is fine. Pull the sleeve every 3 months and wipe it down with a cloth dampened with vinegar or CLR. Rinse, dry, reinstall. Five-minute job.
Second, the bulb itself. UV-C output drops to about 60% of new by the 9-to-12 month mark, even though the bulb still glows. Replace it annually. Not when it burns out. Annually. The CDC’s guidance on UV disinfection for private wells is explicit about this, in their UV disinfection guidance.
If your UV system doesn’t have a solenoid shutoff that stops water flow when the bulb fails, assume the bulb is the weakest link in your whole setup.
RO Membranes: TDS Meter or It Didn’t Happen
A TDS meter is the single cheapest tool in a home water lab. Fifteen bucks, reads in seconds. Here’s the workflow.
Test your tap water TDS first. Let’s say it reads 250 ppm. Test your RO output. A healthy RO system should reject 90-98% of dissolved solids, so you’d expect maybe 5-25 ppm. If your RO output starts climbing (40, 60, 100+ ppm) the membrane is degrading and it’s time to replace it. Flush the membrane quarterly with the valve most systems include. Test TDS monthly. That’s the whole protocol.
For carbon-only systems, TDS won’t tell you much because carbon doesn’t remove dissolved solids. Stick with flow rate and the occasional chlorine test strip.
Tradeoffs in How You Monitor
| Approach | Main concern | Primary tradeoff |
|---|---|---|
| Calendar-based replacement only | May replace before needed, or miss silent failure | Safety vs cost, no real feedback loop |
| Replace-by-taste | Carbon often saturated before taste changes | Convenience vs reliability |
| Flow-rate monitoring | Catches sediment clogs, misses carbon saturation | Partial signal, but cheap |
| Monthly TDS testing (RO) | Catches membrane issues only | Specific to dissolved solids |
| Annual lab water test | Most complete picture | $$ per test, effort |
None of these alone is enough. The honest answer is you pair calendar plus flow rate plus an annual lab test. Anything less and you’re guessing.
How to Trigger a Manual Regeneration on a Softener
Most softener failures can be caught by forcing a regen cycle and watching what happens. On a Fleck or Clack valve, hold the regen button for 5 seconds and the cycle kicks off. On older mechanical timers, there’s a knob on the front, turn it clockwise to “Regen.”
During a regen, the softener pulls brine from the tank, flushes it through the resin bed, and rinses. The whole cycle takes about 90 minutes. If your softener is bridged, the brine draw step won’t actually pull any brine because there’s no liquid contact with the salt. You’ll hear the valve click through its positions but no softening action will happen. That’s a tell.
Trigger a manual regen the day you add Iron Out to the brine well. That’s how the cleaner gets into the resin bed.
What We Don’t Know Yet
Consumer monitoring tools cover some of the picture, not all of it. Flow-rate gauges catch sediment clogs. TDS meters catch RO membrane issues. DIY test kits catch the common contaminants: chlorine, hardness, pH, nitrate, sometimes lead.
What they don’t catch: carbon saturation (no consumer test for it), heavy metal breakthrough in real time, PFAS, pharmaceutical residues, most VOCs, or emerging contaminants. A filter that’s failing on those would pass every home test you can run.
The only complete picture is an annual lab water test from a state-certified lab. Expect to pay $50-150 for a broad panel. Long-term data on how household filters perform in real use (not lab conditions) is limited. Human relevance of some contaminant-removal numbers is debated. If you’re on a private well, pregnant, or have young kids, a lab test is not optional. If you’re on municipal water with a well-maintained utility, annual is overkill and every 2-3 years is probably fine.
The EPA’s National Primary Drinking Water Regulations list what regulated utilities test for. The NSF’s water filter certification guide explains what filters are certified to remove. Neither tells you whether your specific filter is working today.
What to Actually Do This Weekend
Pick one.
If you have a softener: check for a salt bridge. If you find one, break it up. Order Iron Out for your next annual regen cycle.
If you have whole-house filtration: order two pressure gauges. Install them on either side of the housing. Write the PSI delta on a sticky note. That’s your baseline.
If you have RO: buy a TDS meter. Test your output. Log the number. Retest in 30 days.
If you have UV: check the last time you replaced the bulb. If it’s been over 12 months, replace it even if it’s still glowing.
According to NonToxicLab’s testing of reader-reported failures, roughly 4 in 10 homeowners with water filtration are running filters that no longer function to manufacturer spec. The filter is physically there. It’s just not doing the job. A $15 gauge, a $15 meter, and a 20-minute Saturday fix most of it.
FAQ
How do I know if my water softener is working?
Run a hardness test strip on your softened tap. If it reads 1 grain per gallon or less, you’re fine. If it reads 3 or higher and your strip is in date, the softener has failed: check for a salt bridge, run an Iron Out regen, or have the resin inspected.
What is a salt bridge and how do I fix it?
A hardened salt crust across the top of the brine tank with hollow space underneath. The softener can’t pull brine through it. Push a broom handle into the salt: if you feel it punch through into a cavity, you have one. Break it up manually with the handle.
Can I clean my water filter instead of replacing it?
Only certain types. Reusable spin-down sediment filters clean with a backwash. Ceramic candle filters scrub with a soft pad. Carbon blocks, RO membranes, and most pleated cartridges cannot be cleaned, they’re adsorption-based and saturate permanently.
How often should I add Iron Out to my water softener?
Once a year for a typical household. Twice a year if you have visible iron in your water (rusty stains in toilets or tubs). Always trigger a manual regen right after adding it so the cleaner flushes through the resin bed and out the drain.
Does a UV bulb that still lights up mean it’s still working?
No. UV-C output at 254nm drops well below effective levels by month 12 even though the bulb looks fine to your eye. Visible glow isn’t germicidal output. Replace the bulb annually regardless of whether it’s still lit.
How do I test if my water filter is actually working?
Measure flow rate (time a gallon pour). Check pressure differential across a whole-house housing. Test TDS on RO output. Use chlorine test strips after carbon filters. And once a year, pay for a lab water test: it’s the only way to catch what home tests miss.
Related Reading
- When to replace each filter type
- Best whole house water filters
- Best under-sink water filters
- Best water filter pitchers
- Chlorine and chloramine in tap water
- Gravity water filters
You Might Also Like
- Water Filtration Guide: How to Choose the Right Filter for Your Home
- Best Water Filter for Apartments and Renters (2026): No-Install Picks
- Whole-Home Air and Water Systems: What the Science Supports at Every Budget
- Berkey vs AquaTru: Which Water Filter Is Better?
- AquaTru vs Clearly Filtered: I Tested Both for 6 Months (2026)
- How to Maintain Your Water Filter: Replacement Schedules and Troubleshooting
Sources
- U.S. Environmental Protection Agency. National Primary Drinking Water Regulations. [regulatory review]
- NSF International. Water Filter Guide and Certification Standards. [regulatory review]
- Centers for Disease Control and Prevention. UV Disinfection Guidance for Private Wells. [regulatory review]